In this blog I will show you how to make screenshots of websites using the GoWitness tool. GoWitness is written the GO program language and you can download for free on their Github page. The installation is really easy with one command: go install github.com/sensepost/gowitness@latest
There are also binaries available, also for Windows and MacOS
Once downloaded the first thing is always run the program with the -h parameter. Just so you can read what the program is capable of and how the syntax works.
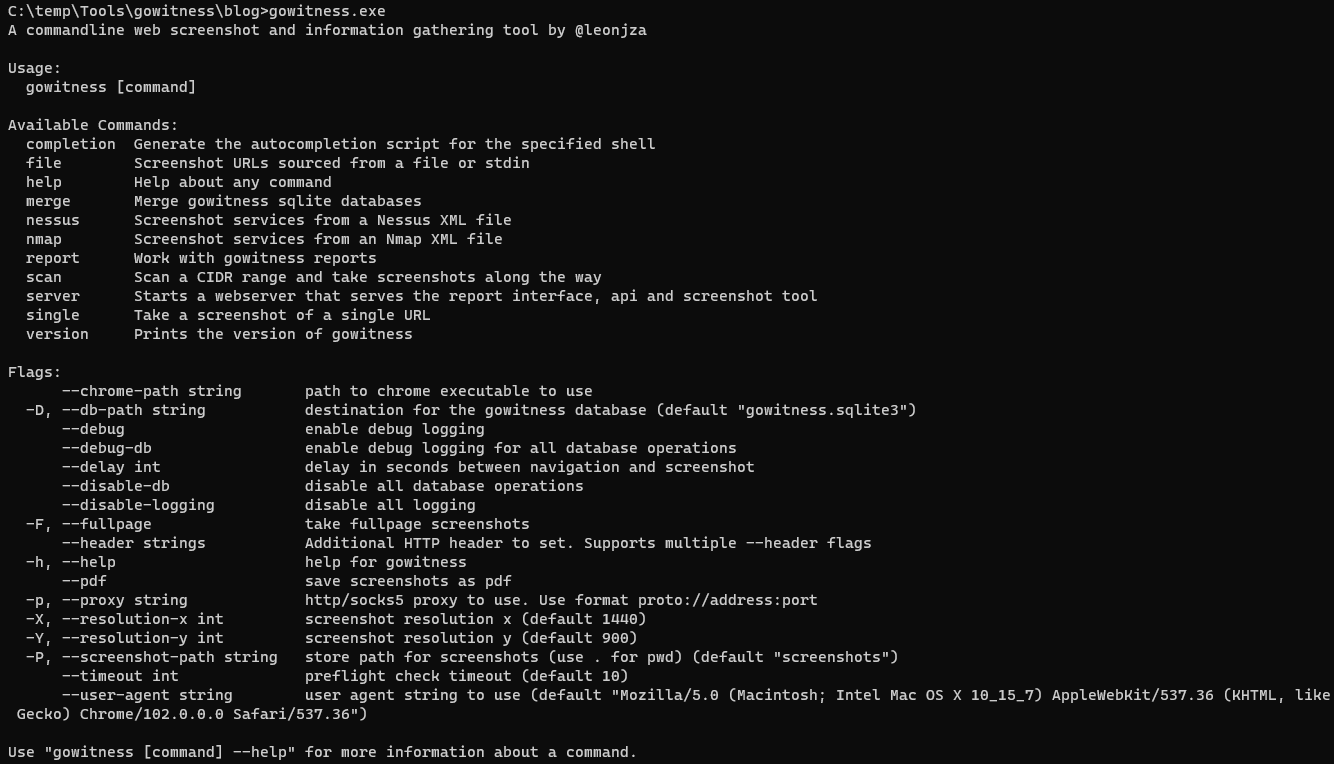
So there are a lot of different options to choose as input for which websites you want to scan. From a FILE, from a NMAP or NESSUS scan, from a CIDR range or just a single URL. Once you know your source the other options are for finetuning GoWitness. Choosing resolution or timeout settings or use debugging and logging..
So lets start with a CIDR range.The command could be. gowitness scan –cidr 192.168.1.1/24 –threads 10. This will scan the whole subnet using 10 threads, which speeds things up.You will see lots of output like this.

Once its done you will see a file called gowitness.sqlite3 and a folder called screenshots. Now there are two ways to view the results. The basic view is browse to the screenshots folder and click through the screenshots in there. Or you can use the built-in webserver functionality of GoWitness. Run gowitness.exe server

Open the URL in a browser and see all screenshots with much more details then you would have by opening these just from the folder.

Now if we want to have more control over the ports that GoWitness is using you can run gowitness.exe scan -h

Lots of options to choose from, for example the –ports flag. You can specify which ports GoWitness should use. Or do not try to connect on HTTP or HTTPS by using the flag –no-http / –no-https
So this tool is very versatile and can give you lots of information about your targets in a pentest engagement or other situations of course. Let me know when you have trouble using the tool or put usefull information for others in the comments.