Mining monero on windows is now easier then ever. Just follow these steps and you are good to go!
Step 1 – download Monero wallet
On the official monero page you can download the wallet for Windows (and other OS). Download the Windows 64-bit (Installer) it and make sure your anti-virus is not blocking or deleting the file. Don’t worry, it is safe but some vendors think it isn’t.
Step2 – install the Monero wallet
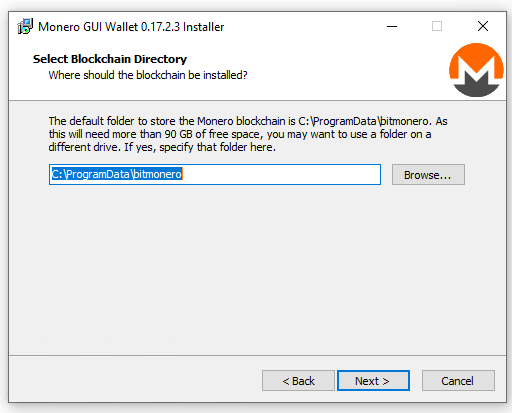
Click the downloaded executable and follow the steps in the installation wizard. Here are some screenshots what it looks like. Just choose the folder in which you want to install the software and keeping the blockchain.


Step 3 – configuring the wallet
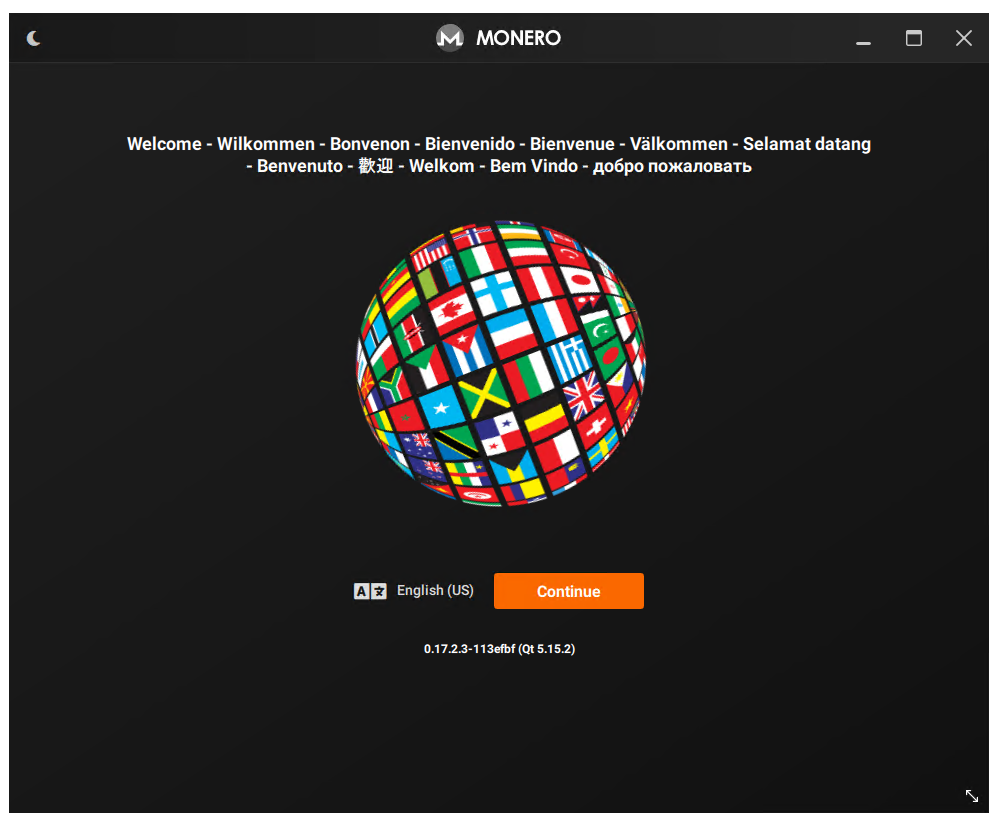
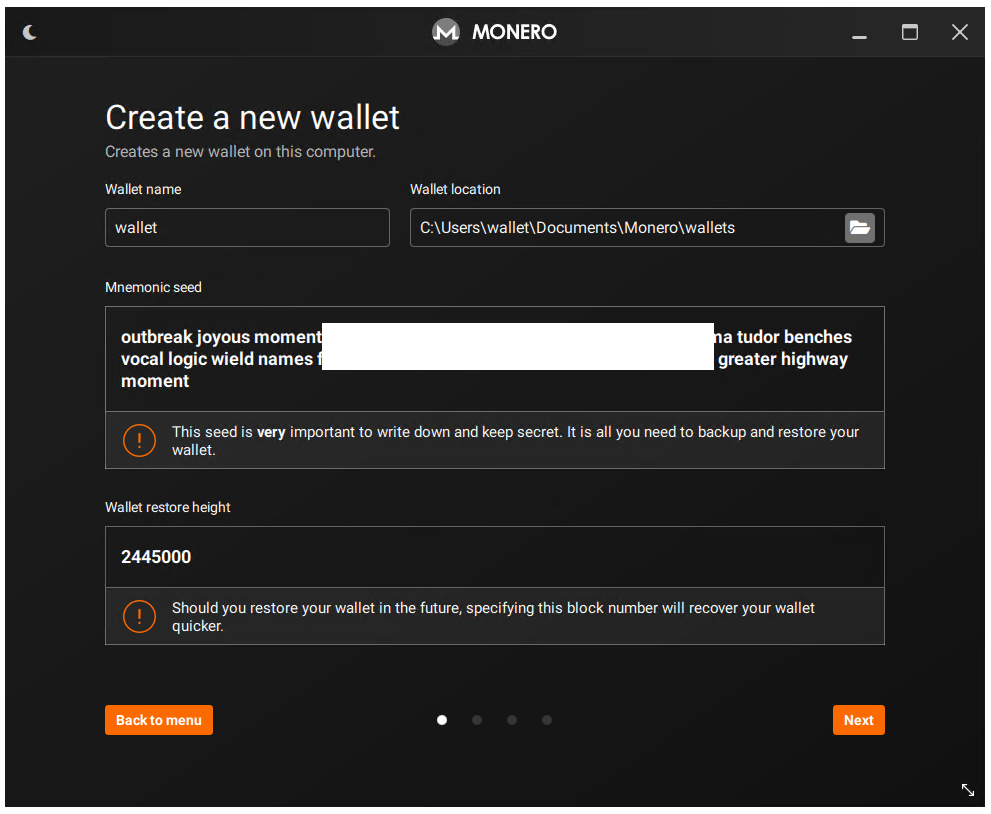
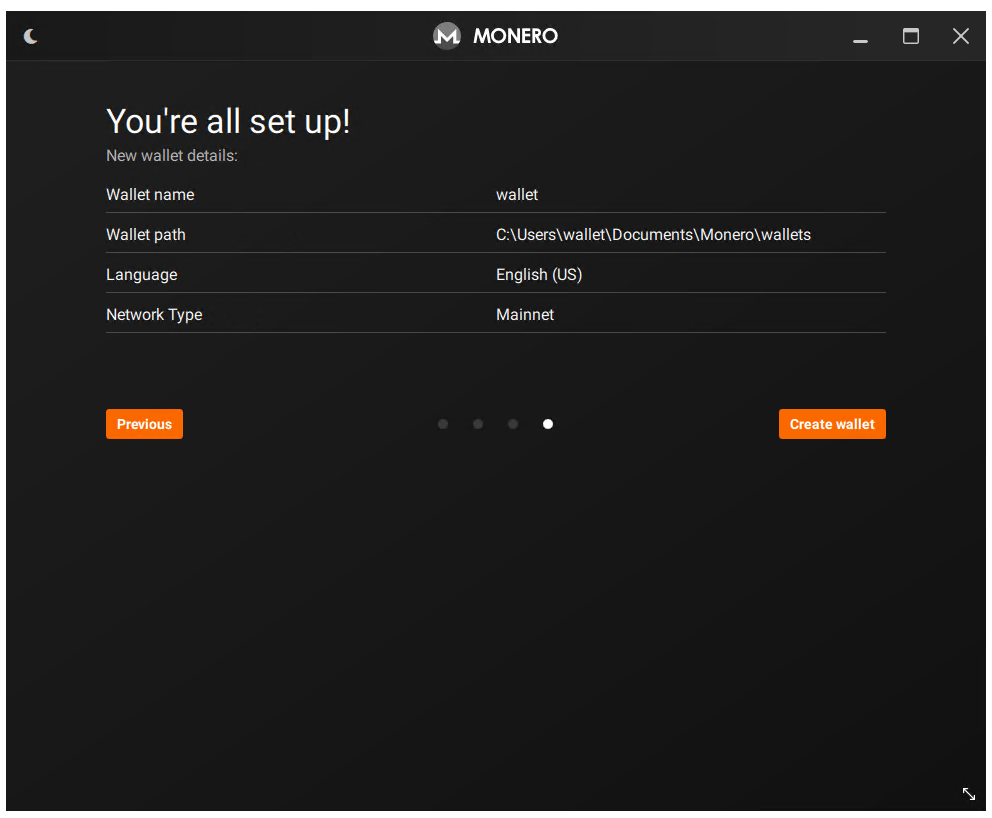
Once the wallet is installed open it for the first time and then these steps need to be followed to configure it properly.


Step 4 – Syncing and mining
Now the installation and configuration is done, the wallet will sync the blockchain to your computer. This can take some time, depending on the speed of your internet connection.

Once the sync is complete you are finally ready to mine some Monero!
You can read more about crypto and Monero here.